

GraphQL for Beginners: Build Real-Time Chat App with Apollo Client and React
Beginner-friendly series on GraphQL 🔰 Let's continue our app! Part 4 Finale: Set up client-side with React and Apollo Client.


Welcome back to GraphQL for Beginners! A beginner-friendly series introducing the basic concepts of GraphQL and how to connect it to a front-end framework like React using Apollo.
In this part, we will complete our simple chat app by building our front-end with React and Apollo Client.
If you haven't read the previous part, please read it here.
Step 1: Create a React App
To recap, our project folder currently has a server folder in it. Let's create a client folder now for our React app.
In our client folder, we can create a new React app:
npx create-react-app my-app
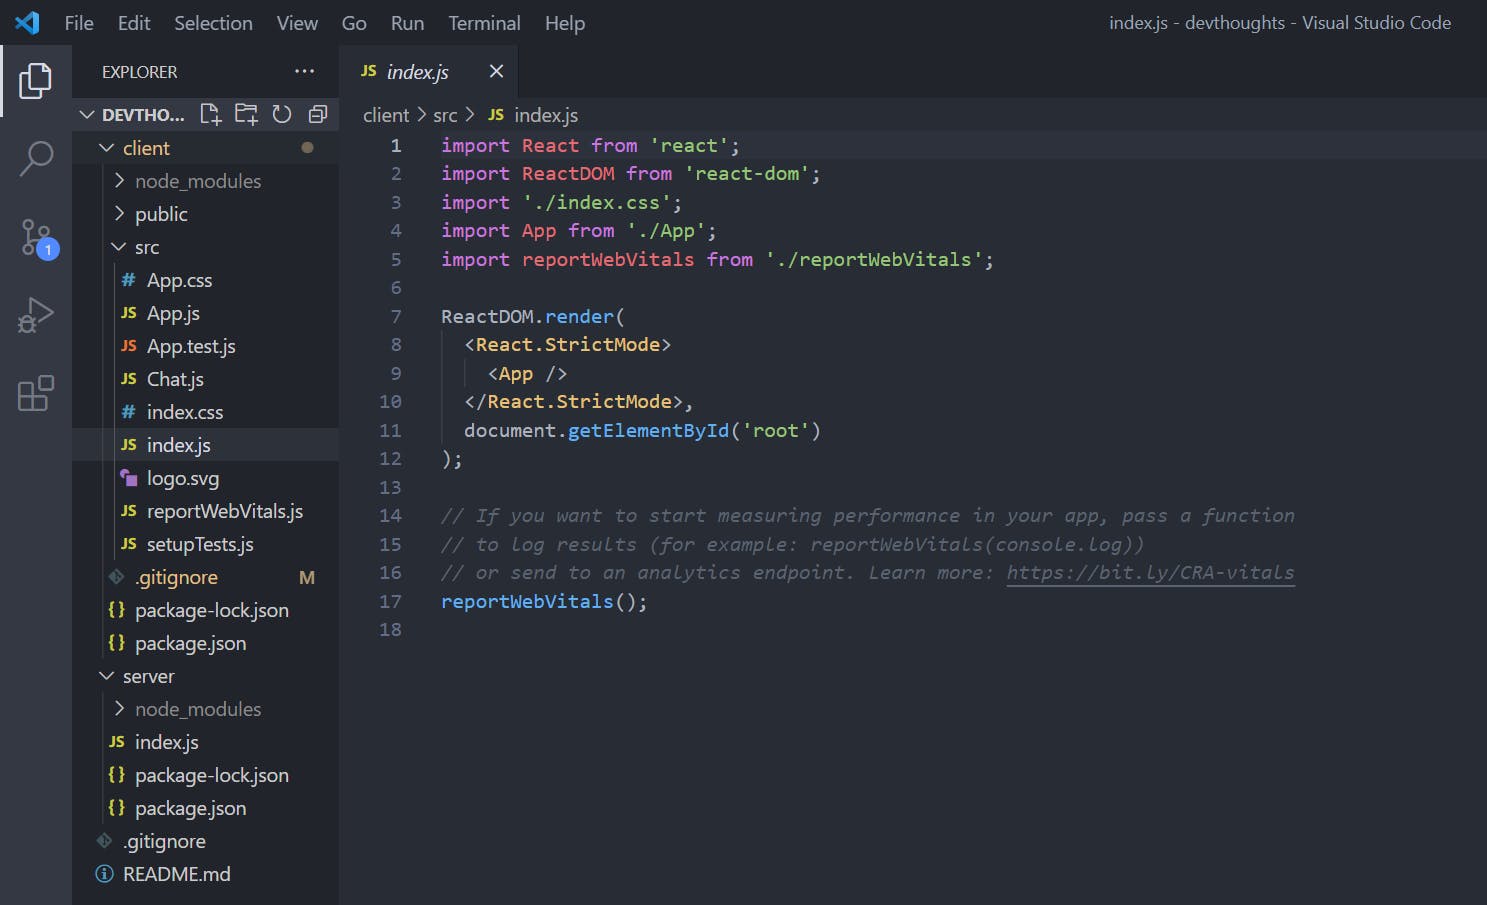
Now, your project folder should look something like this:
Step 2: Install packages
To connect our React app to our GraphQL server, we need to install a few packages:
@apollo/client: to set up Apollo Client in our React appgraphql: to parse GraphQL queriessubscriptions-transport-ws: to use subscriptions over WebSocket using a WebSocketLink
npm install @apollo/client graphql subscriptions-transport-ws
Optionally, you can install @material-ui/core for styling. I will be using some Material UI components in this project.
npm install @material-ui/core
Step 3: Initialize WebSocketLink and ApolloClient
Let's create a Chat component by creating Chat.js in our React app's src folder. In this component, we will initialize our WebSocketLink and ApolloClient, to perform all the necessary queries and functions we need for our chat app.
First, let's import what we need from our installed packages.
import { ApolloClient, InMemoryCache, useMutation, useSubscription, gql} from '@apollo/client';
import { WebSocketLink } from "@apollo/client/link/ws";
import {Container, Chip, Grid, TextField, Button} from '@material-ui/core';
Then, initialize a WebSocketLink to handle our subscriptions below the import statements. The uri property should be the specific endpoint of your subscriptions in your GraphQL server. In our case, it is just /, and our server is at port 4000.
const link = new WebSocketLink({
    uri: `ws://localhost:4000/`,
    options: {
      reconnect: true,
    },
});
Now, let's initialize an ApolloClient instance so our client can fetch data from our GraphQL server at http://localhost:4000/.
export const client = new ApolloClient({
  link, //websocket link
  uri: 'http://localhost:4000/', //connect to server
  cache: new InMemoryCache(),
});
Below that, we can have the Chat component return a simple header for now.
export const Chat = () =>{
    return(
      <div>
         <h3>Welcome to DevThoughts! A simple chat app for the GraphQL series!</h3>
      </div>
    )
}
Step 4: Connect ApolloClient with React
To connect the initialized ApolloClient instance with React, we can import ApolloProvider in our App.js file. This works like a context provider, which wraps the React app and places Apollo Client on the context, so it can be accessed from anywhere in the app's component tree.
In our App.js file, import ApolloProvider and wrap it around the components. Finally, we import our client instance and Chat component from Chat.js. Pass in client in the ApolloProvider component, and we're done with the setup.
import './App.css';
import { ApolloProvider } from '@apollo/client';
import {client, Chat} from './Chat'

function App() {
  return (
    <ApolloProvider client={client}>
      <div className = "App">
        <h2>Dev Thoughts 💭</h2>
        <Chat/>
      </div>
    </ApolloProvider>
  );
}

export default App;
Step 5: GraphQL Get Messages Query
Now that everything is set up, we can fetch and post data to our GraphQL server from our React app. To do that, we need to write some GraphQL queries in Chat.js.
We can define a query by wrapping in inside the gql template literal. Here's our query to get messages:
const GET_MESSAGES = gql`
  subscription {
    messages {
      id
      user
      text
    }
  }
`;
If you need a recap on subscriptions and queries, please read the previous part for this series.
Then, we use the useSubscription hook to execute the query like so:
const Messages = ({user}) =>{
    const {data} = useSubscription(GET_MESSAGES) //executes query
    if(!data){
        return null; //if no data fetched, return null
    }

   //else return the fetched data
    return (
      <div>
         //map fetched data here
      </div>
     )
}
As seen in the code above, the Messages component will execute the GET_MESSAGES query using the useSubscription hook. Then, we check if the fetched data is empty or not. If it is, the component returns nothing. Else, it should return all the messages in the <div>.
Note that the fetched data will be in the format like this:
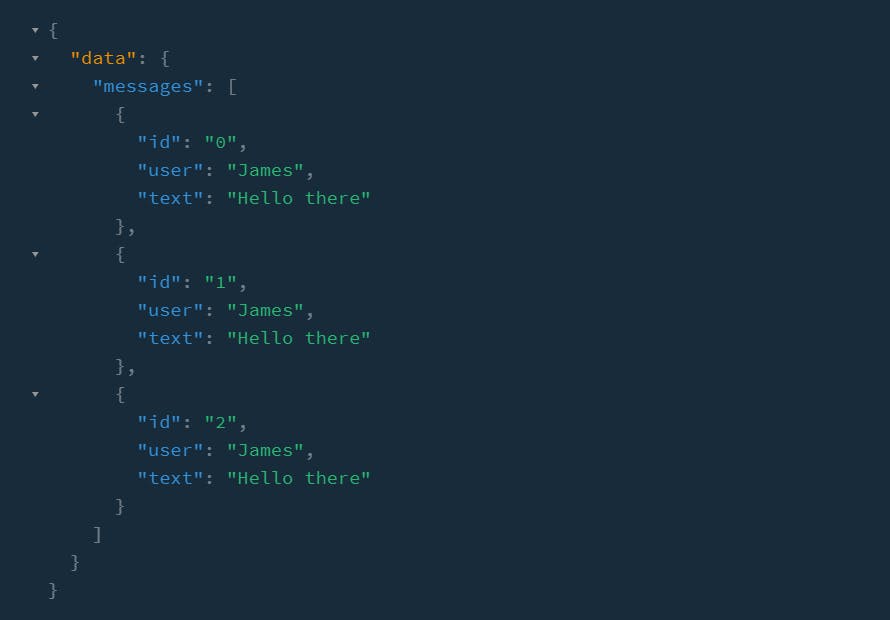
So let's add the fetched data and map them for individual styling. Here's what the Messages component look like:
const Messages = () => {
  const { data } = useSubscription(GET_MESSAGES);
  if (!data) {
    return null;
  }
  return (
    <div style={{ marginBottom: '5rem' }}>
      {data.messages.map(({ id, user, text }) => {
        return (
          <div key={id} style={{ textAlign: 'right' }}>
            <p style={{ marginBottom: '0.3rem' }}>{user}</p>
            <Chip style={{ fontSize: '0.9rem' }} color='primary' label={text} />
          </div>
        );
      })}
    </div>
  );
};
Now, we add our Messages component into our Chat component that we created earlier in Step 3 like so:
export const Chat = () =>{
    return(
      <div>
         <h3>Welcome to DevThoughts! A simple chat app for the GraphQL series!</h3>
         <Messages/> /*add here*/
      </div>
    )
}
Test!
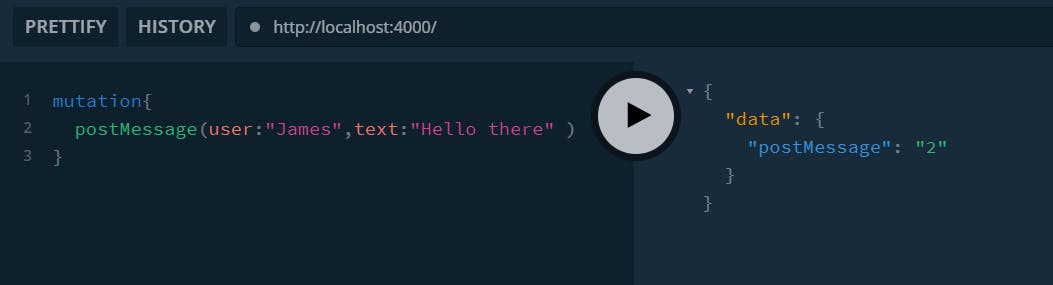
Let's test if it works, run the server at http://localhost:4000/ and post a few messages to test via the playground.
Then, run the React app by running npm start on the client folder. The Messages component should execute the subscription query and show the test messages.
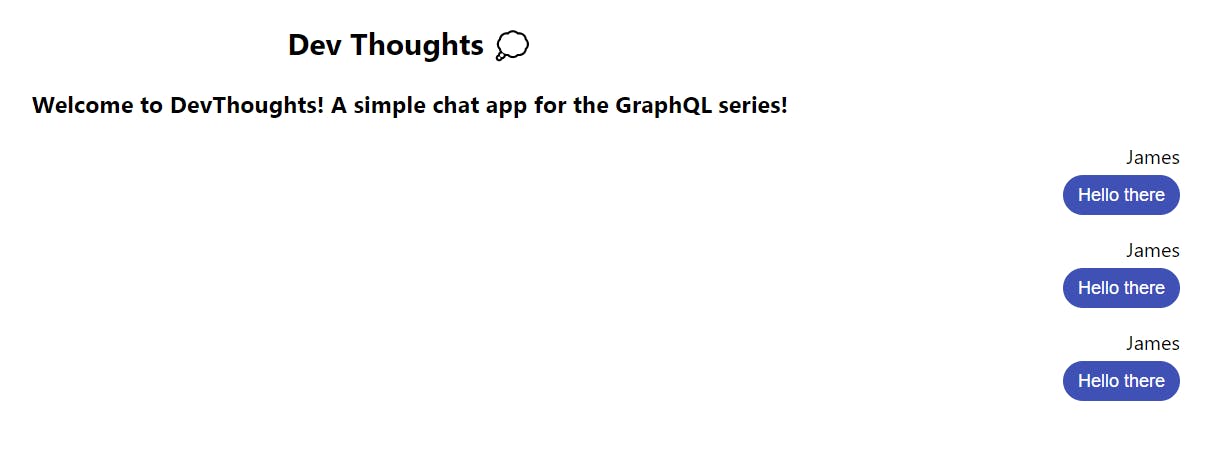
Now let's post another message from the playground and watch the React app update the UI in real-time.
Great, now let's move on to creating a mutation query to allow posting new messages from our React app instead of our playground.
Step 6: GraphQL Post Message Query
Let's add this query below our GET_MESSAGES query. Just like how we write it on our playground, the mutation query for POST_MESSAGE is as follows:
const POST_MESSAGE = gql`
  mutation($user:String!, $text:String!){
    postMessage(user:$user, text:$text)
  }
`;
Then, we need a function called sendMessage to execute this query. To create this function, let's first create some UI elements where the user can type in the message then click a button which calls sendMessage.
In our Chat component, below our Messages, let's add the UI.
export const Chat = () =>{
    return(
        <Container>
          <h3>Welcome to DevThoughts! A simple chat app for the GraphQL series!</h3>
          <Messages/>
         {/*add this block below*/}
          <Grid container spacing={2}>
            <Grid item xs={3}>
              <TextField onChange={(e)=>{
                setUser(e.target.value)}} value={user} size="small" fullWidth variant="outlined" required label="Required" label="Enter name" />
            </Grid>
            <Grid item xs={8}>
              <TextField onChange={(e)=>{
                setText(e.target.value)}} value={text} size="small" fullWidth variant="outlined" required label="Required" label="Enter message here" />
            </Grid>
            <Grid item xs={1}>
              <Button onClick={sendMessage} fullWidth  variant="contained" style={{backgroundColor:"#60a820", color:"white"}}>Send</Button>
            </Grid>
          </Grid>
        </Container>
    )
}
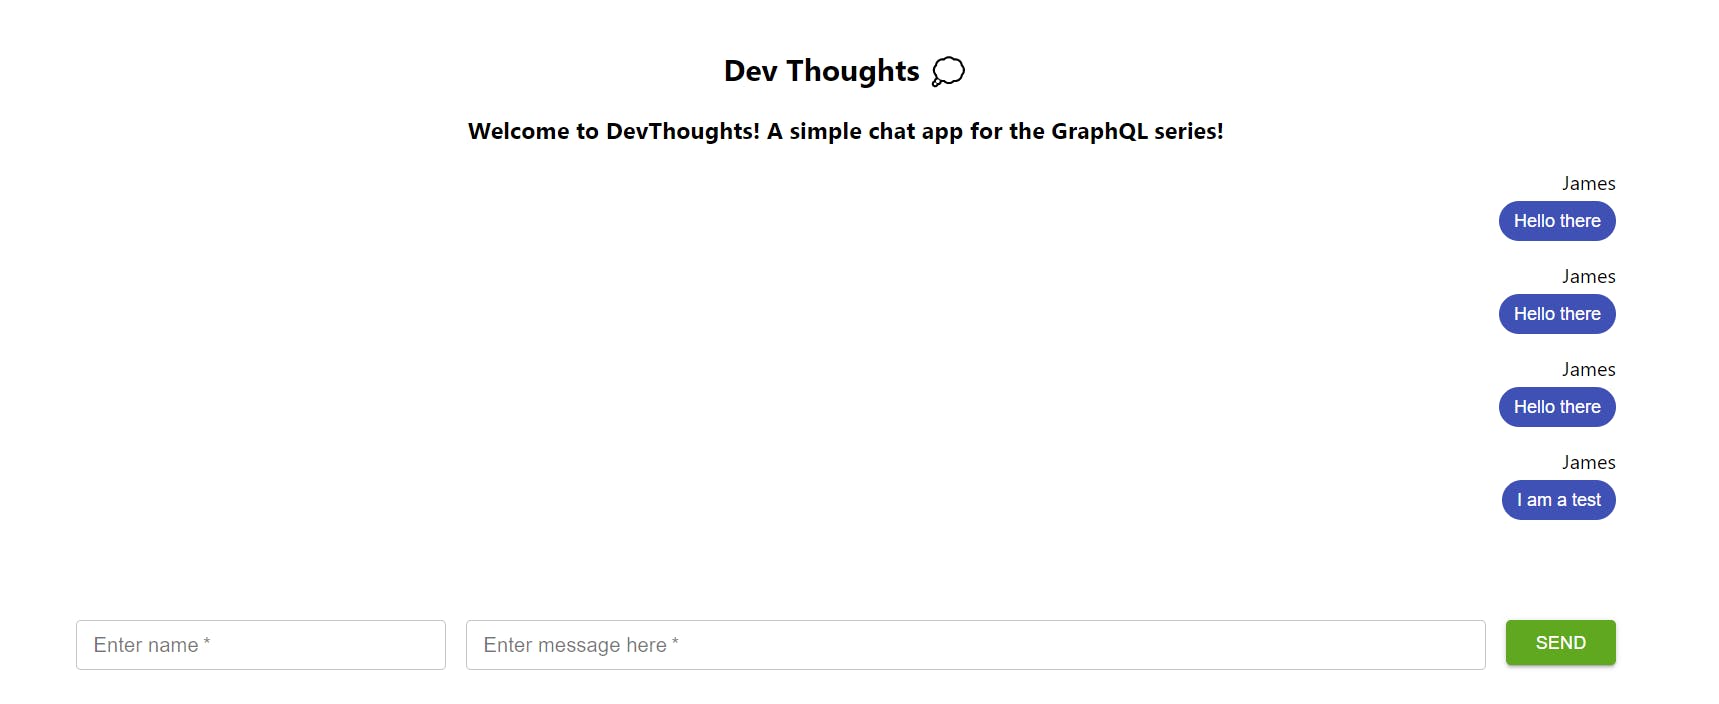
This is what it looks like on the browser:
You may notice that in addition to sendMessage, I've added some new variables: user and text, which contain the values of the input fields we just included.

Let's import the useState hook at the top of our Chat.js and initialize our variables in the Chat component.
At the top of the file:
import React, {useState} from 'react';
In our Chat component:
export const Chat = () =>{
    const [user, setUser] = useState("Victoria"); //initialize user
    const [text, setText] = useState(""); //initialize text

    return
       //...
}
Finally, we create our sendMessage function below the variables. As described in the Apollo documentation, we must use the useMutation hook to execute mutations.
Here's what the code below does. Take your time to review and understand it:
- Pass our
POST_MESSAGEquery in theuseMutationhook which returns an array, where the first element is our mutate function,postMessage. - sendMessage first checks if both inputs are not empty. It executes the
postMessagemutate function by passing the variables from the input (userandtext) and resets the text field. - If one of the input fields is blank, an alert window will trigger.
export const Chat = () =>{
    //...
    // 1.
    const [postMessage] = useMutation(POST_MESSAGE)

    const sendMessage=()=>{
      // 2.
      if(text.length>0 && user.length >0){
        //calls the mutate function
        postMessage({
          variables:{ user: user, text: text }
        })
        setText(""); //reset text field
      }else{
        // 3.
        alert("Missing fields!")
      }
    }

   return (
   // ...
}
Test
If we post a new message, it should execute the mutation perfectly and the subscription that listened for any changes would immediately update the UI with the new data.
We can even open multiple windows so that it works like a real chat app!
Step 7: Final Improvements
The clip above shows that our app can successfully post and get new messages. However, notice that the messages are always aligned to the right, no matter who the user is.
In typical chat apps, only the messages sent by the user will be on the right while the rest will be left-aligned. Let's add this small improvement to complete our chat app.
In our Messages component in the Chat.js file, let's have it accept our user variable as a prop. Then, we will give a different styling based on whether the message data's user property is equal to the user variable or not.
const Messages = ({user}) =>{
    const {data} = useSubscription(GET_MESSAGES)
    if(!data){
        return null;
    }
    return (
      <div style={{marginBottom:"5rem"}}>
        {data.messages.map(({id, user: messageUser, text})=>{
          return(
            <div key={id} style={{textAlign: user===messageUser?"right":"left"}}>
              <p style={{marginBottom:"0.3rem"}}>{messageUser}</p>
              <Chip style={{fontSize:"0.9rem"}} color={user===messageUser?"primary": "secondary"} label={text}/>
            </div>
          )
        })}
      </div>
     )
}
Lastly, remember to pass the user variable in Messages under the Chat component:
export const Chat = () =>{
  //...
  return(
    //...
      <Messages user={user}/>
    //...
  )
}
Final Result & Words
As seen in the clip below, our chat app is finally complete!

We have now come to the end of the GraphQL for Beginners series. If you have been following this series, thank you so much. I hope it has been helpful in getting you started with the basic concepts of GraphQL and integrating it to a front-end framework like React.
Do like and share this series around if you think it has helped you so it can reach more people.
Please check out the Reference section below to see the code for this project and to read more about GraphQL with Apollo. To improve and become more comfortable with GraphQL, I encourage you to try building your own projects or even add more features to this chat app as a start. All the best with your learning and cheers!