

GitHub Actions 101 Finale: Build Your Custom Action
Beginner Series to Automating your Workflow with GitHub Actions! Part 5 Finale: Build and deploy your custom action


Hello and welcome to Part 5 (Finale) of the GitHub Actions series. A series where we will walk through everything you need to know about GitHub Actions, from the basics to creating your own customized workflow and actions.
In this previous part, we have built a complete CI/CD workflow by incorporating everything we have learned from Part 1 to Part 3.
If you have missed any parts, be sure to follow along from the top by checking out the series here.
In this final part of the series, let's build our own custom action and deploy it to use in a workflow.
About Custom Actions
Some requirements to know when building a custom action:
- Must have metadata file called
action.ymloraction.yaml, which contains the inputs, outputs and entry point of our action - Repository must be public to share or publish actions to the marketplace
- Must have an entry point script file (written in any language) to run the action
Our Custom Action
For this example, let's build an action that updates a repository's README.md file with a new quote of the day (QOTD). Our action will do the following:
- Triggers every midnight (will be built in workflow)
- Fetches a random quote from the Quote API
- Updates
README.mdfile - Commit and push changes (will be built in workflow)
Okay, now let's get started building it!
Step 1: Create action.yml
In a new GitHub repo, let's start with creating the action.yml metadata file for our action.
name: 'Quote Of The Day'
author: 'Victoria Lo'
description: 'Updates README with a quote of the day'
inputs:
  category:  # id of input
    description: 'Quote category to fetch'
    required: false
    default: 'inspire'
    #possible values: inspire, management, sports, life, funny, love, art, students
  readme_path:
    description: 'Path of the readme file to update'
    default: "./README.md"
    required: false
runs:
  using: 'node12' #currently only supports docker or node12
  main: 'index.js'
As seen above, our action will take 2 input parameters: category and readme_path. The category input will be used when fetching a quote from the Quote API. It will be set to the inspire category by default, but the user can specify it in this action if needed.
Next is the readme_path, which is another optional argument that a user can supply to this action. It will be set to ./README.md by default.
All the available syntax for the metadata file can be found in this documentation.
Step 2: Install packages
Since we are building a custom JavaScript action, it is helpful to install the actions/core and axios packages for faster development.
Run npm init to generate a package.json file (make sure you have Node installed in your machine).
Then, install by running this command in the terminal:
npm install @actions/core axios
Once the packages are installed, we should have a node_modules folder and a package-lock.json and a package.json file in the project directory.

Now we are ready to write our script for the action.
Step 3: Create script
Start by creating an index.js file in the project.
First, let's start by importing what we need:
const core = require("@actions/core");
const fs = require("fs/promises");
const axios = require("axios");
Next, we will get the data of our action inputs: category and readme_path. We can also supply a fallback value for testing purposes.
const category = core.getInput('category') || 'inspire';
const readme_path = core.getInput('readme_path') || 'README.md';
Now let's write a request to fetch the quote from the API. We will fetch the quote from the API with a simple axios.get(), then add the quote to the quote section of the README like so:
(async () => {
  try {
    // Fetch the quote from API
    const { data } = await axios.get(
      `https://quotes.rest/qod?category=${category}`
    );

    //get qotd
    let qotd = data.contents.quotes[0].quote;

    // add to the quote section
    let quote = `<!-- start quote -->\n`;
    quote = quote.concat(`💬 Quote of the Day: "${qotd}"\n<!-- end quote -->`);

  } catch (error) {
    console.log(error.message);
  }
})();
Finally, we will replace this updated quote section to our README.md file.
// Rewrite README with new qotd
const currentText = await fs.readFile(readme_path, "utf8");
const quoteSection = /<!-- start quote -->[\s\S]*<!-- end quote -->/g;
const newText = currentText.replace(quoteSection, quote);

await fs.writeFile(readme_path, newText);
Here's what the index.js file should look like at this point:
const core = require("@actions/core");
const fs = require("fs/promises");
const axios = require("axios");

const category = core.getInput('category') || 'inspire';
const readme_path = core.getInput('readme_path') || 'README.md';

(async () => {
  try {
    // Fetch the quote from API
    const { data } = await axios.get(
      `https://quotes.rest/qod?category=${category}`
    );

    let qotd = data.contents.quotes[0].quote;
    let quote = `<!-- start quote -->\n`;
    quote = quote.concat(`💬 Quote of the Day: "${qotd}"\n<!-- end quote -->`);

    // Rewrite README with new qotd
    const currentText = await fs.readFile(readme_path, "utf8");
    const quoteSection = /<!-- start quote -->[\s\S]*<!-- end quote -->/g;
    const newText = currentText.replace(quoteSection, quote);

    await fs.writeFile(readme_path, newText);

  } catch (error) {
    console.log(error.message);
  }
})();
Step 4: Test
Let's test our action by creating a README.md file in our project directory and then running node index.js in the terminal.
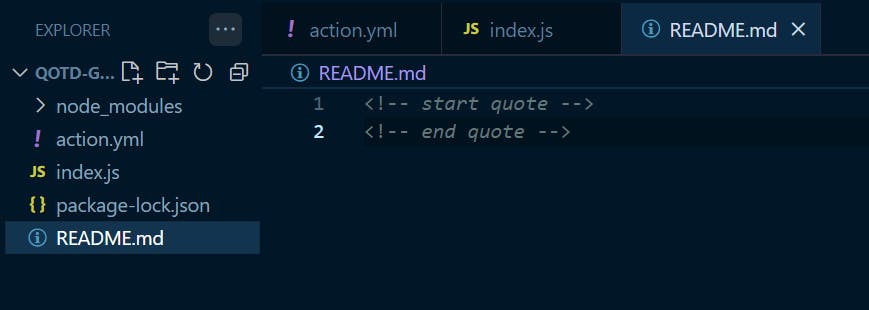
Make sure to add these 2 lines in your README.md:
<!-- start quote -->
<!-- end quote -->
If the test is successful, you should see the README.md file is now updated with a quote!

Step 5: Using Custom Actions
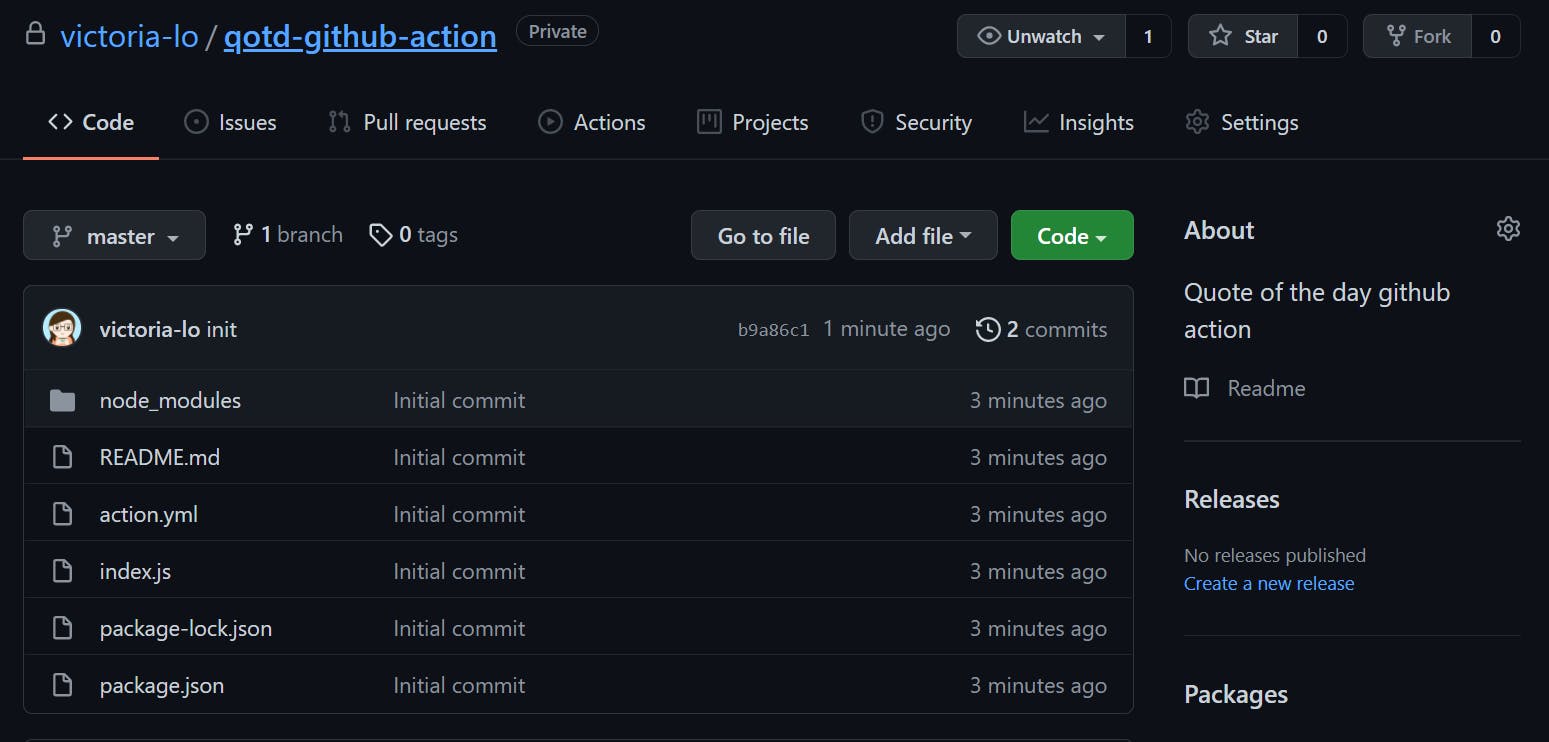
We are ready to use our newly built action in a workflow. Make sure that the project has been pushed to a GitHub repository, include node_modules folder too.
There are 2 ways to use a custom action. Let's go through them.
1. Using action in the same repo
If the repository of the action is in a private GitHub repository, then the action can only be run in a workflow of the same repository.
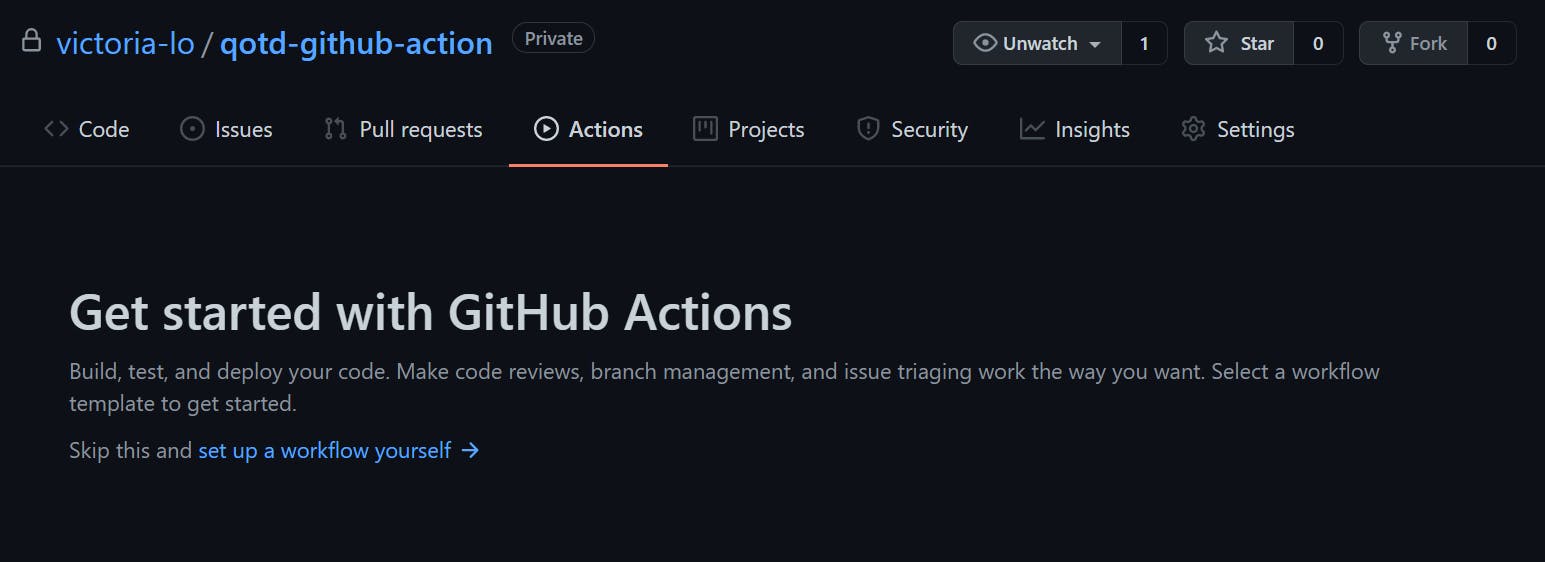
In the repo, create a workflow in the .github/workflows/main.yml directory. Alternatively, navigate to the Actions tab to generate one.
Paste this sample workflow below to run the action in the same repo, then commit the main.yml file.
name: Update README with QOTD
on:
  workflow_dispatch: # triggers manually
  schedule:
  - cron: "0 0 * * *" # triggers every midnight

jobs:
  build:
    runs-on: ubuntu-latest
    steps:
    - name: Check out repo
      uses: actions/checkout@v2
    - name: Use Node
      uses: actions/setup-node@v2
      with:
        node-version: '14.x'
    - name: Install node dependencies
      run: npm install
    - name: Run QOTD action
      uses: ./ # Uses an action in the root directory
      with:
         category: 'life'
    - name: Commit and push update
      run: |-
        git config --global user.email "qotd@action.com"
        git config --global user.name "Quote-Bot"
        git add -A
        git commit -m "Added QOTD from GitHub Actions"
        git push
Although by now, we should be quite familiar with reading YAML workflow files, let me briefly explain what this workflow does.
It triggers manually or every midnight as specified under the on attribute. Once it triggers, it will run the build job. This job contains steps, which are executed in the following order:
- Clone repo to allow the workflow to access its files
- Set up Node.js environment and install packages
- Run the custom action, located in root directory so the
usesattribute can be supplied with a./ - Commit and push the updated README file
Test the Workflow
In the Actions tab, let's trigger the workflow manually. If the workflow is successful, we should see a green checkmark next to it.
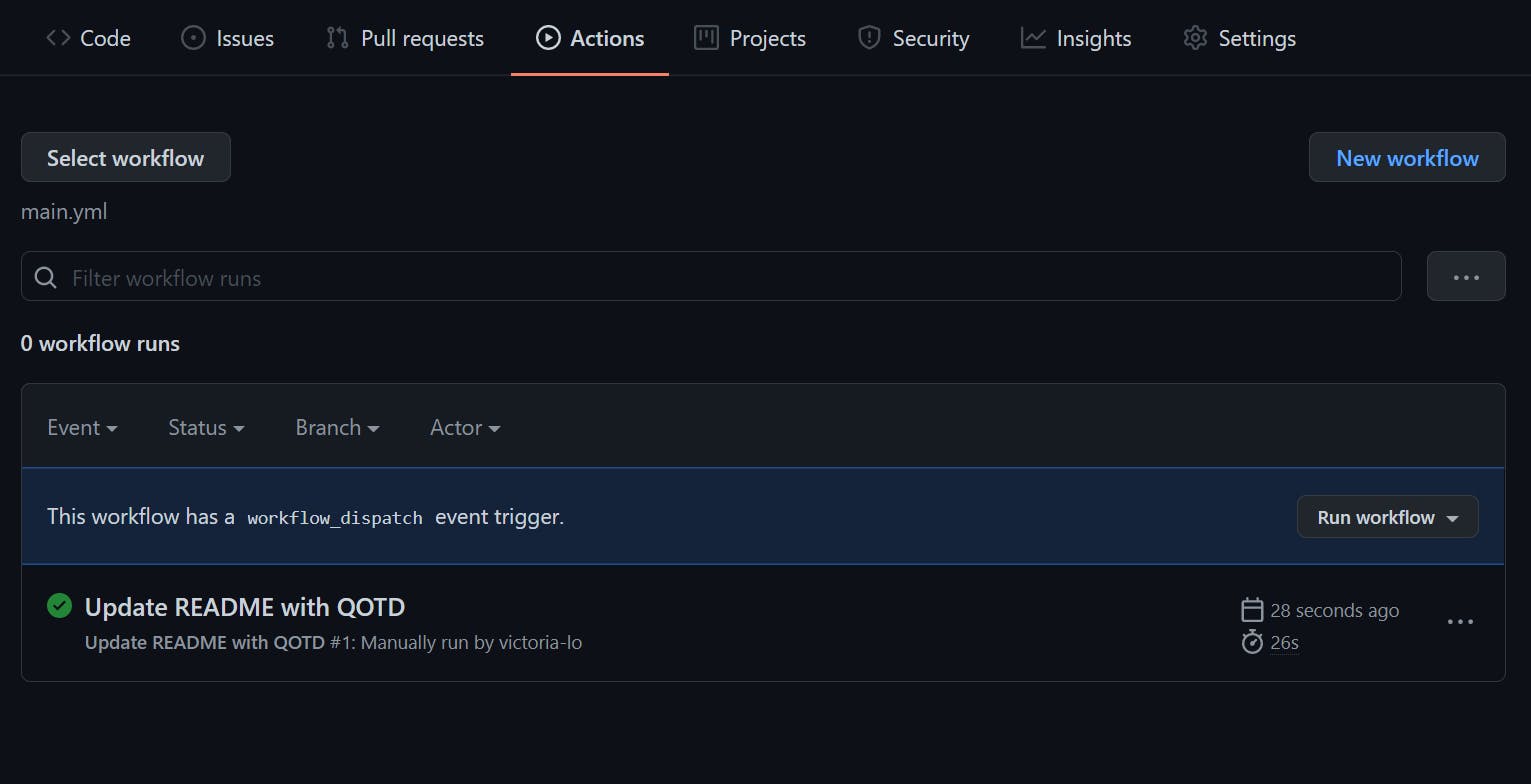
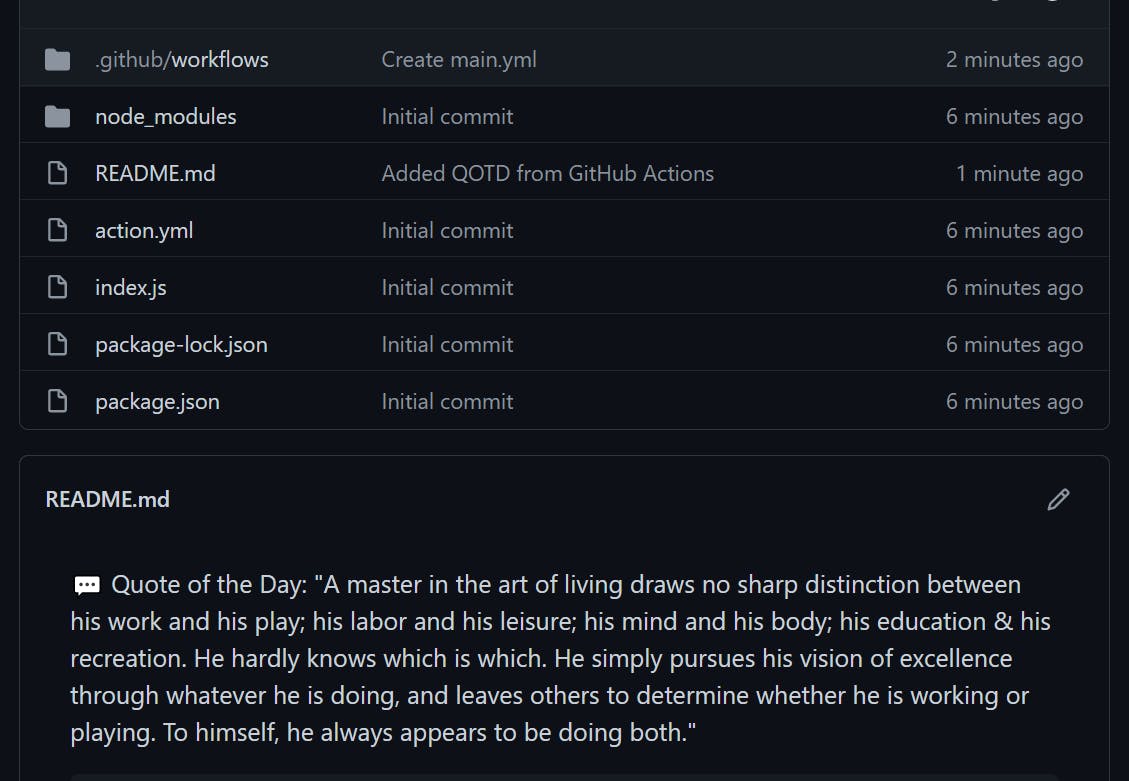
We can also confirm that our README.md is updated, which means the action has run successfully.
2. Using action in any repo
To use our custom action in any repository, we need to make the action's repository public.
Then, instead of adding the action into the workflow under uses as ./, we use the username/repo-name@branch format:
- name: Run QOTD action
  uses: victoria-lo/qotd-github-action@master
    with:
       category: 'life'
Publishing to Marketplace
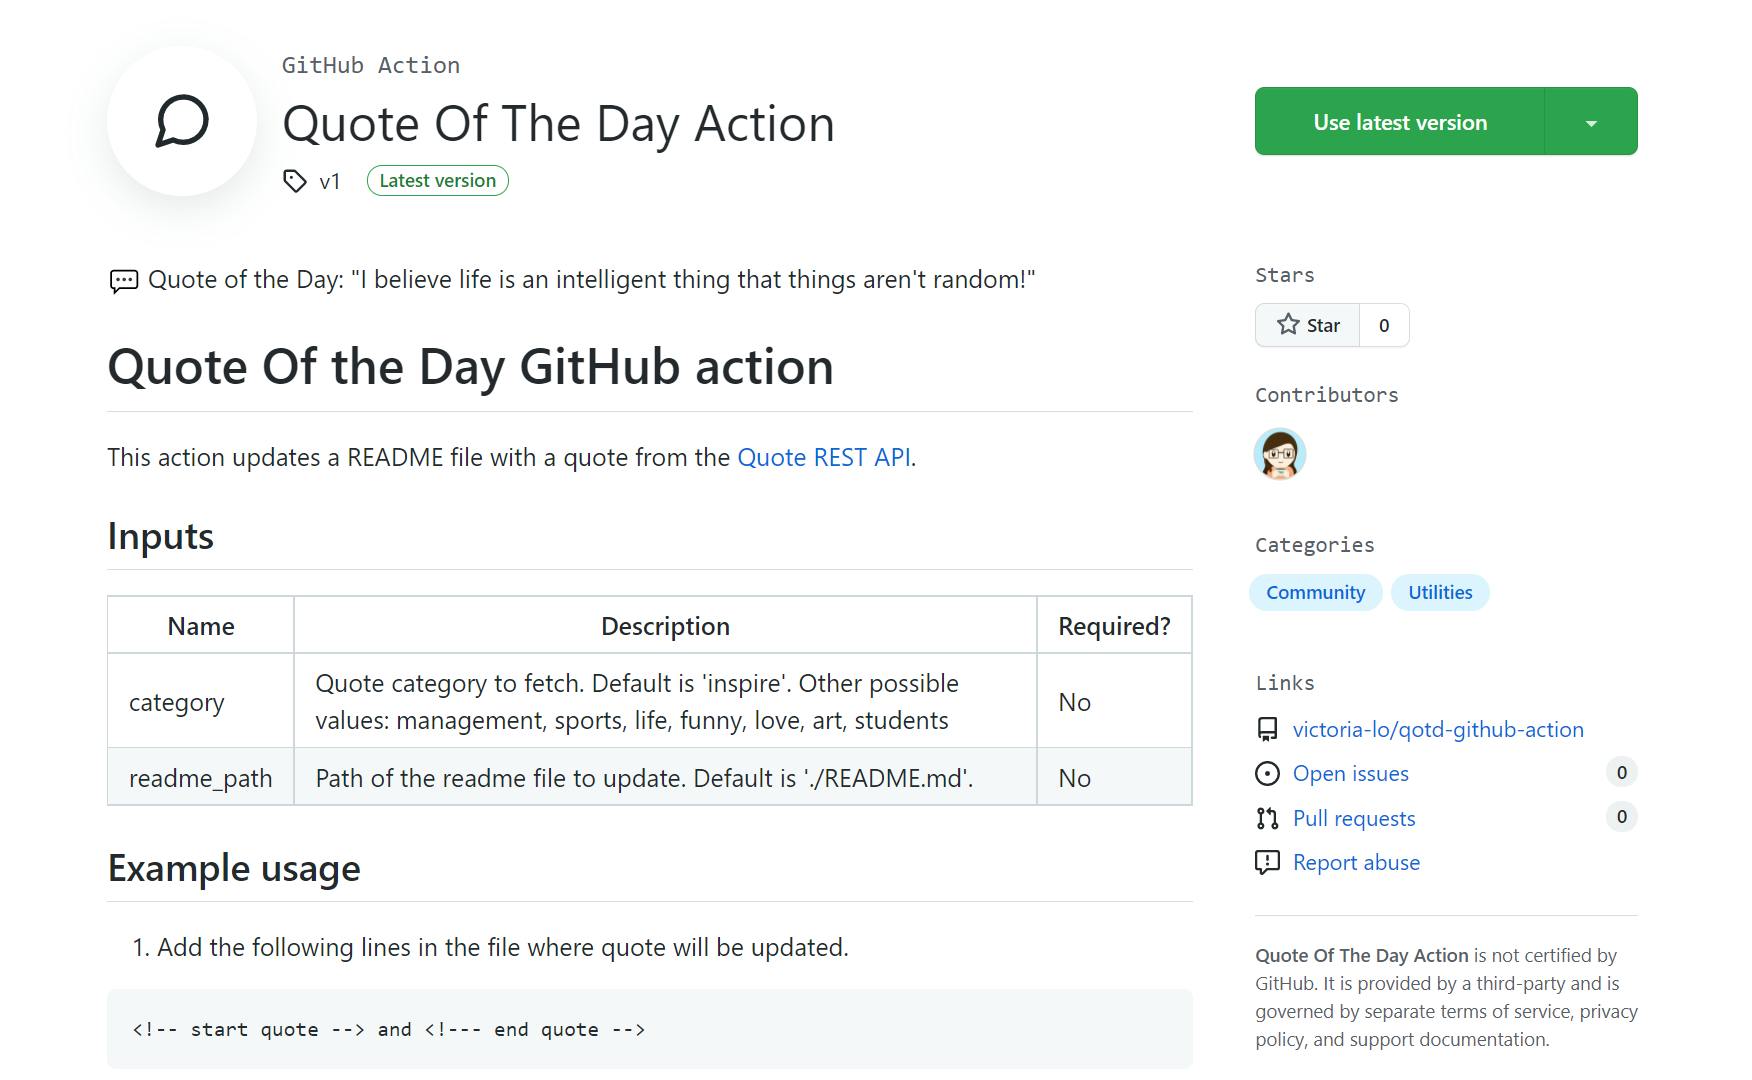
If the action's repository is public, you can also publish the action to the GitHub Marketplace.
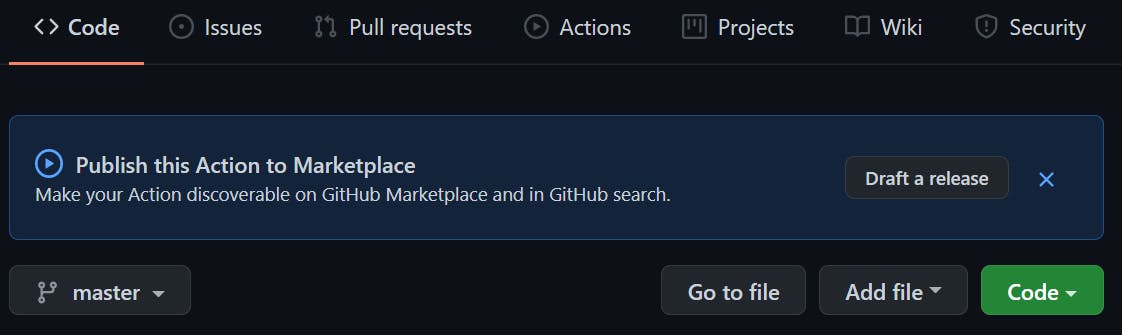
You can simply fill in the fields after clicking the 'Draft a release' button and your action will be available for anyone to use and discover in the marketplace!
Conclusion
So, we have come to the end of this 5-part series on an introduction to GitHub Actions. It was a pleasure to build workflows and actions while writing this series. Please visit these 2 repositories to view the codes written in this series:
I hope it has been an insightful series to help you get started with GitHub Actions and automate some cool workflows. If you have built some workflows on your own, feel free to share them! I would love to check them out.
Thank you for the support and reading till the end. As usual, please leave any questions or comments below. Don't forget to like and share the article if it helps you in any way. Stay tuned for future articles on my blog. Cheers!